I don’t advertise myself as a photographer for numerous reasons. The first, and secondary reason: It’s tough to be a consistent online photography presence when you travel as little as I do. The second, and more primary reason: I’m a writer by nature, and a guy who’s got a lot to learn in terms of photography. At least one web denizen caught on to how my black metal schtick works — low light, zero color and, on rare occasions for trve Norwegian effekt, high contrast — and he suggested I check out his club. Summer in Charleston he said…greens that were watered and not much else. Might suit my style. The club?
Yeamans Hall.
Even if he had been totally wrong about how the course presented in the black and whites…even if the photos did suck…I could have putted for days on these greens. As someone who tilts toward Tillinghast and Ross’s approach to golf course design, it pained me only a little to acknowledge that this set of Raynor’s was the finest group of greens I had ever putted upon. I’ve not traveled as far as many, but I reckon these will still be among the best when they lay me down.
Oh but the photos…my host was totally correct on that front. They turned out. I don’t do course tours because, again, I’m humble enough to know my portfolio doesn’t justify it. But the conditions that day, coupled in part with oncoming thunderstorms, resulted in something really cool. Something that many more qualified photographers could easily recreate, grant you. But give me this one photo feature guys…I promised I won’t rag on you if you choose to write a blog post.
And so, the greens of Yeamans Hall:
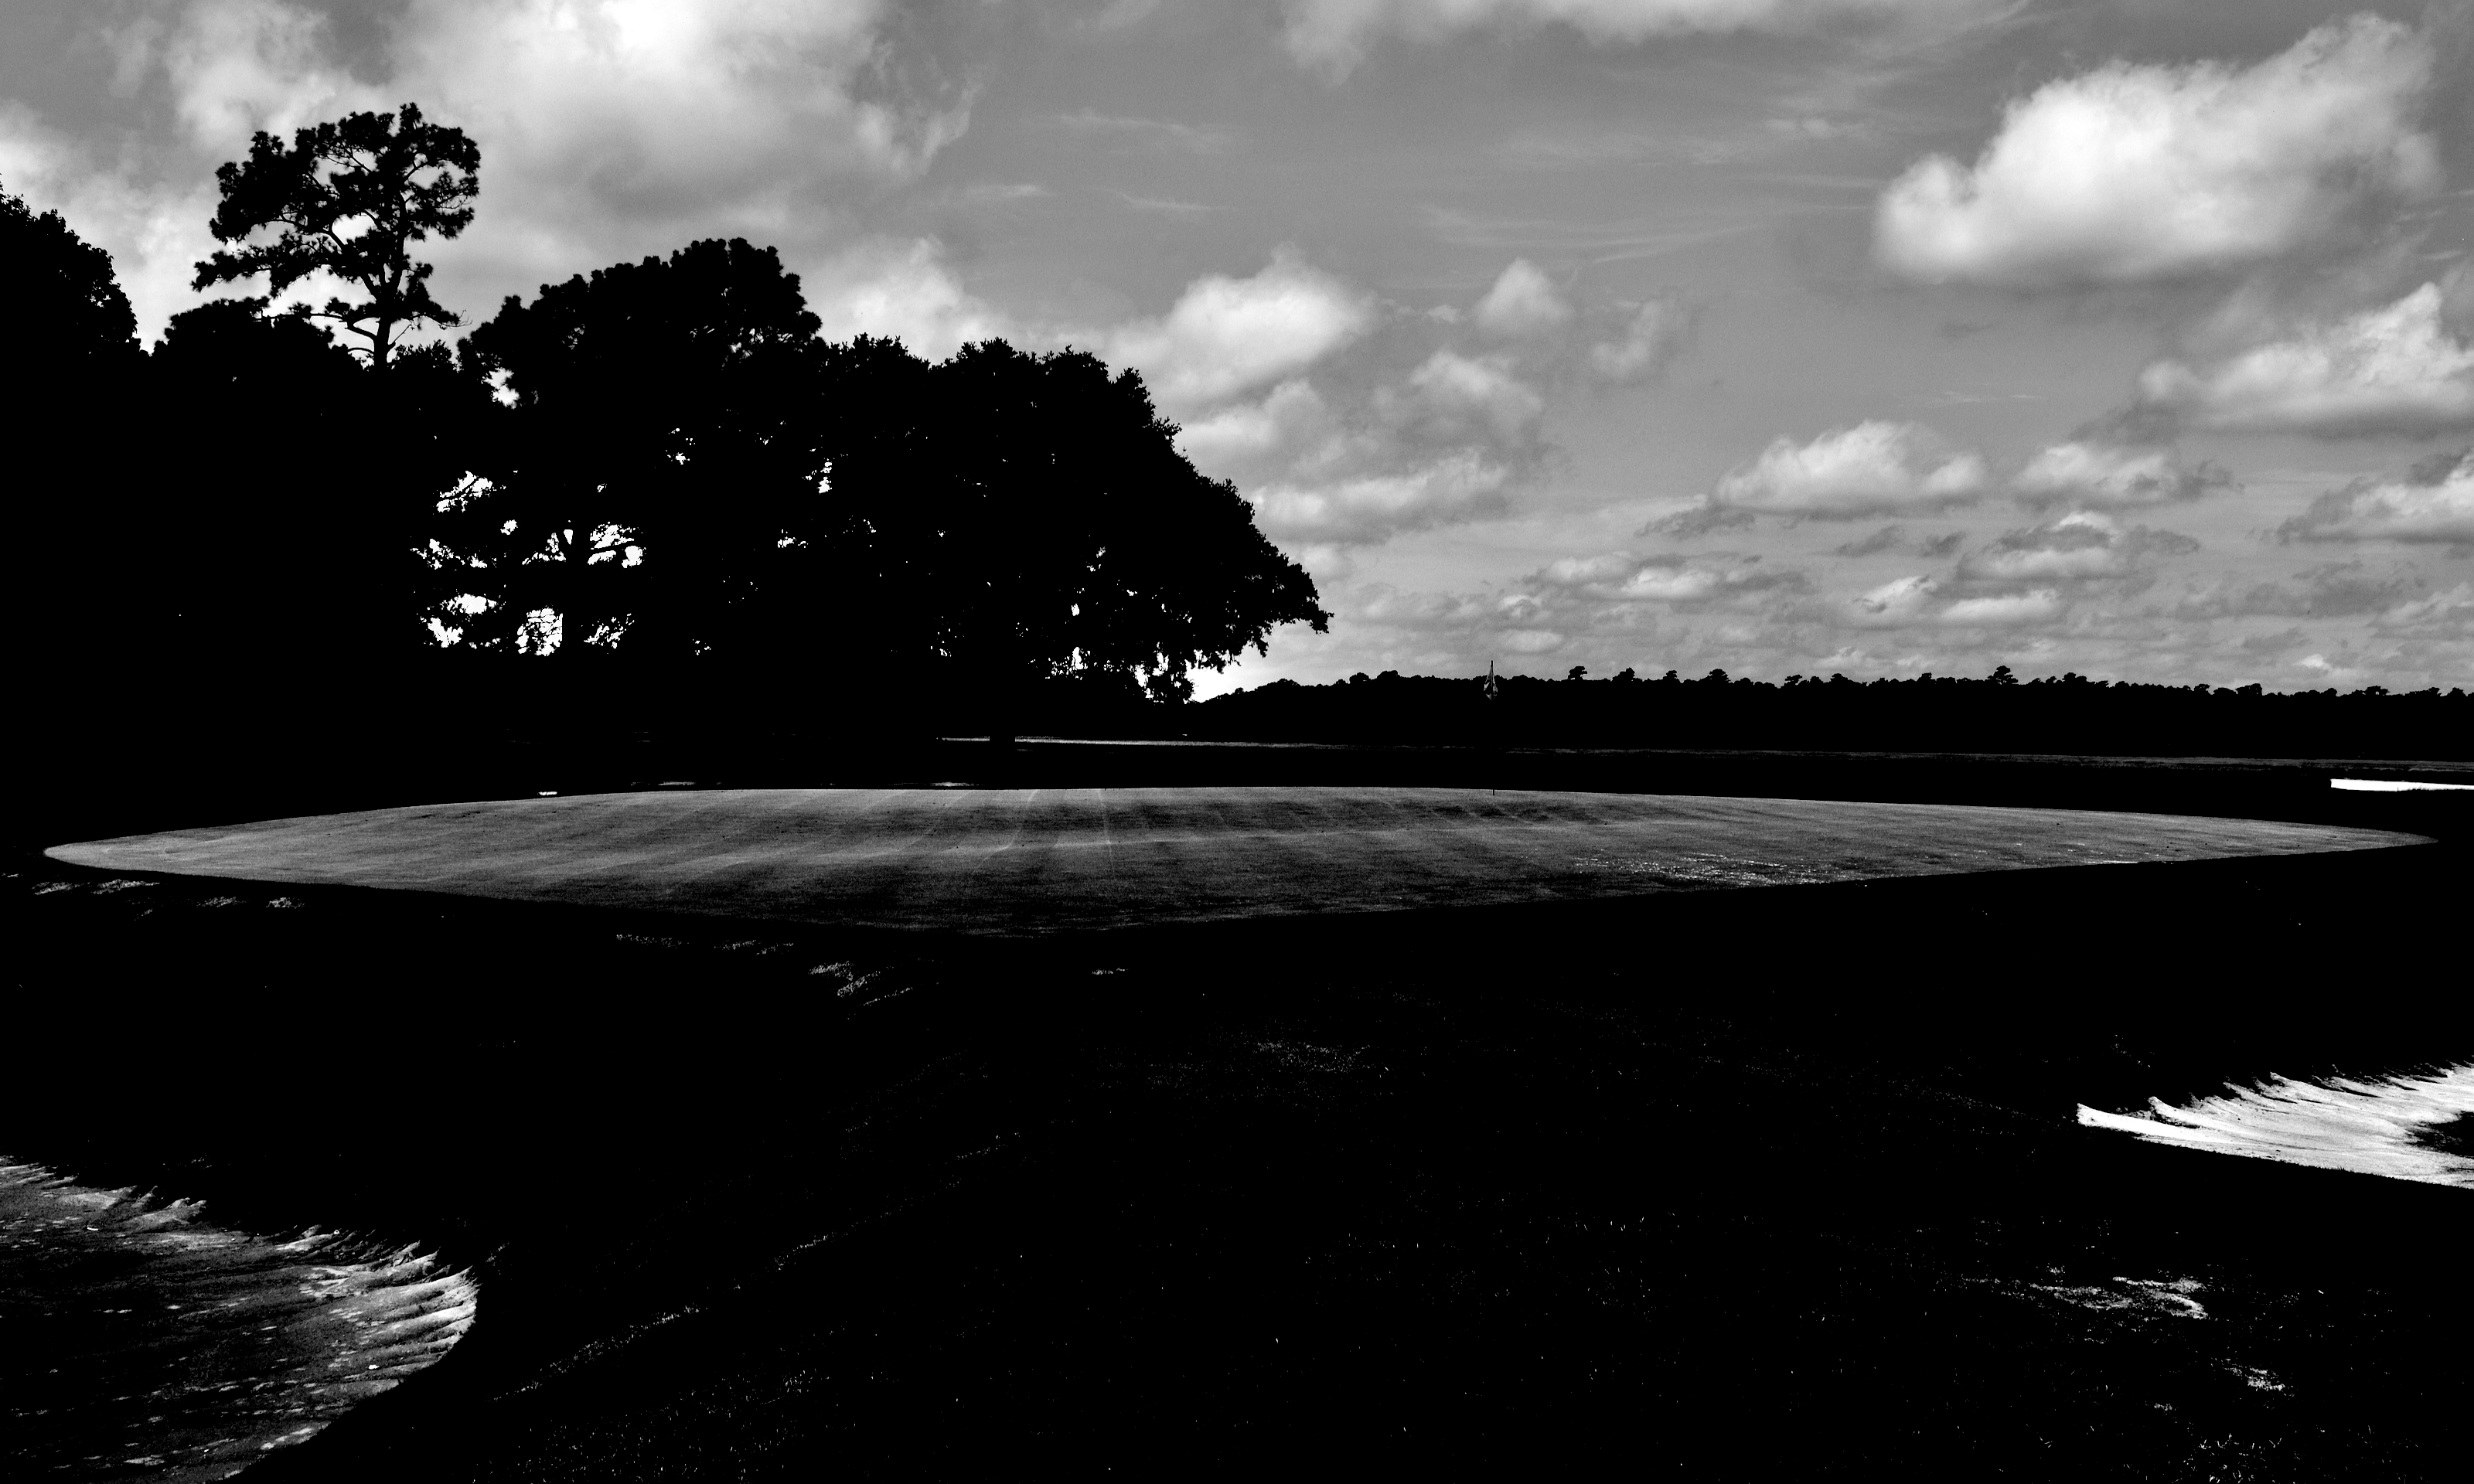
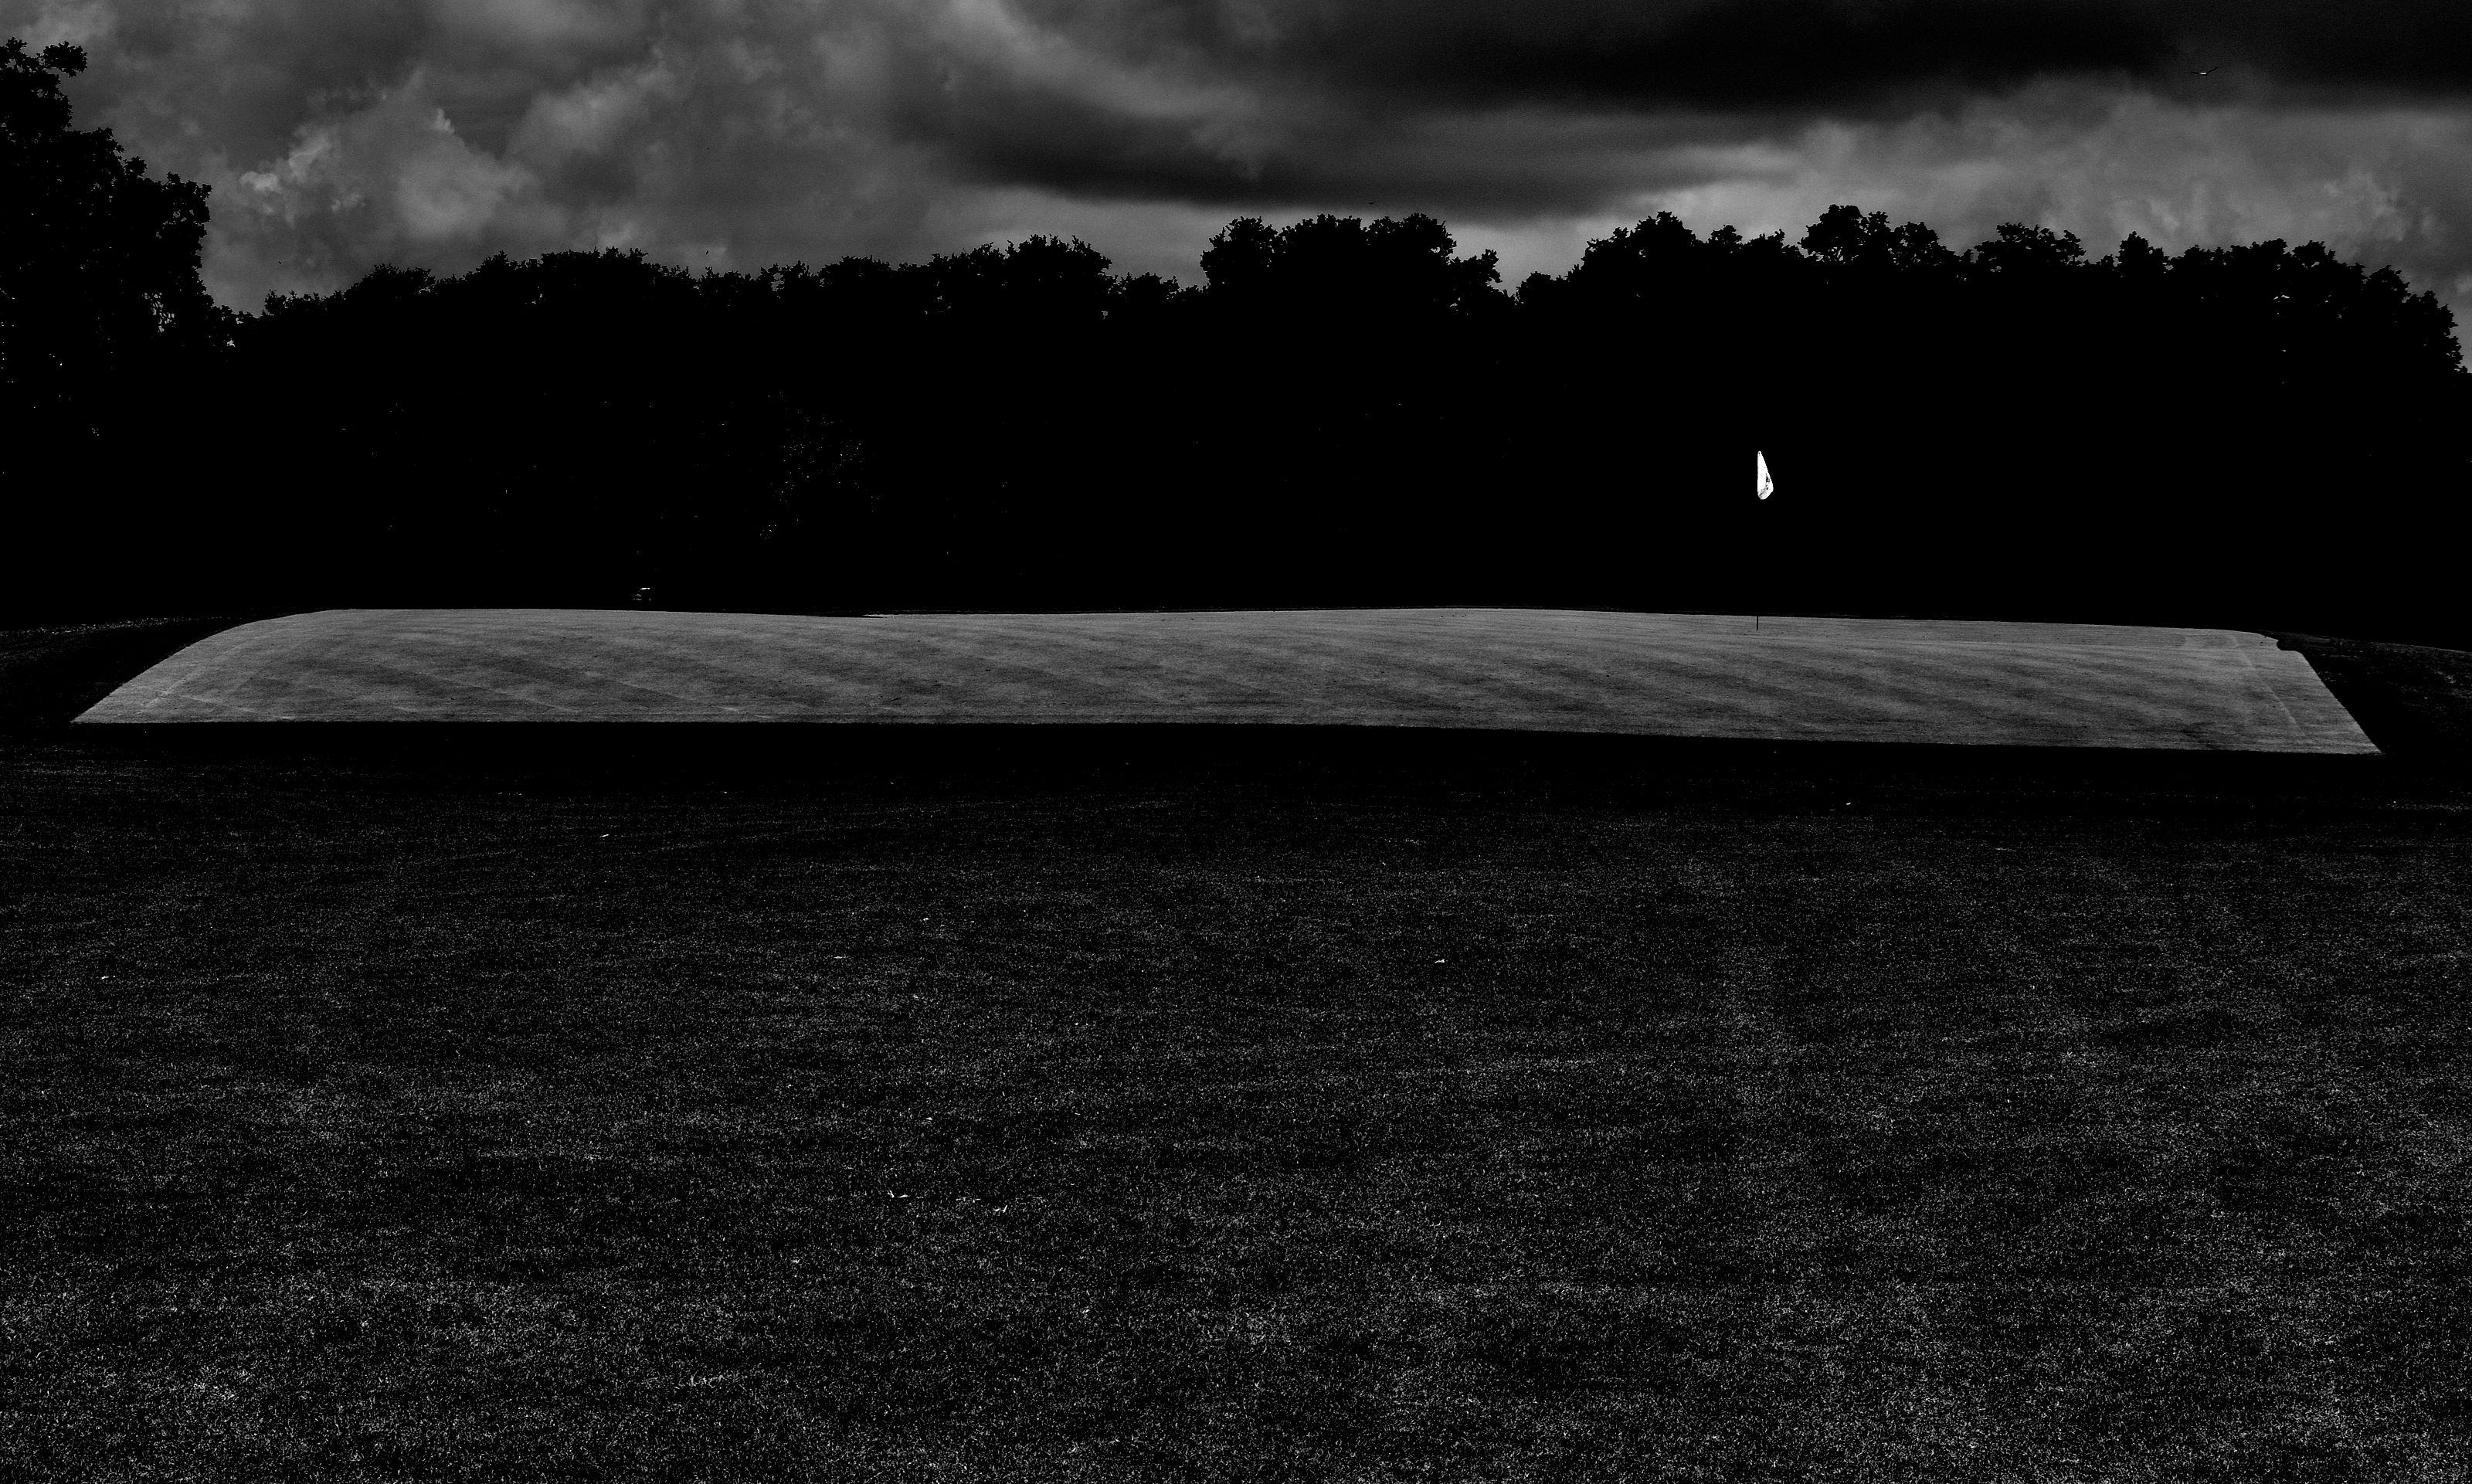
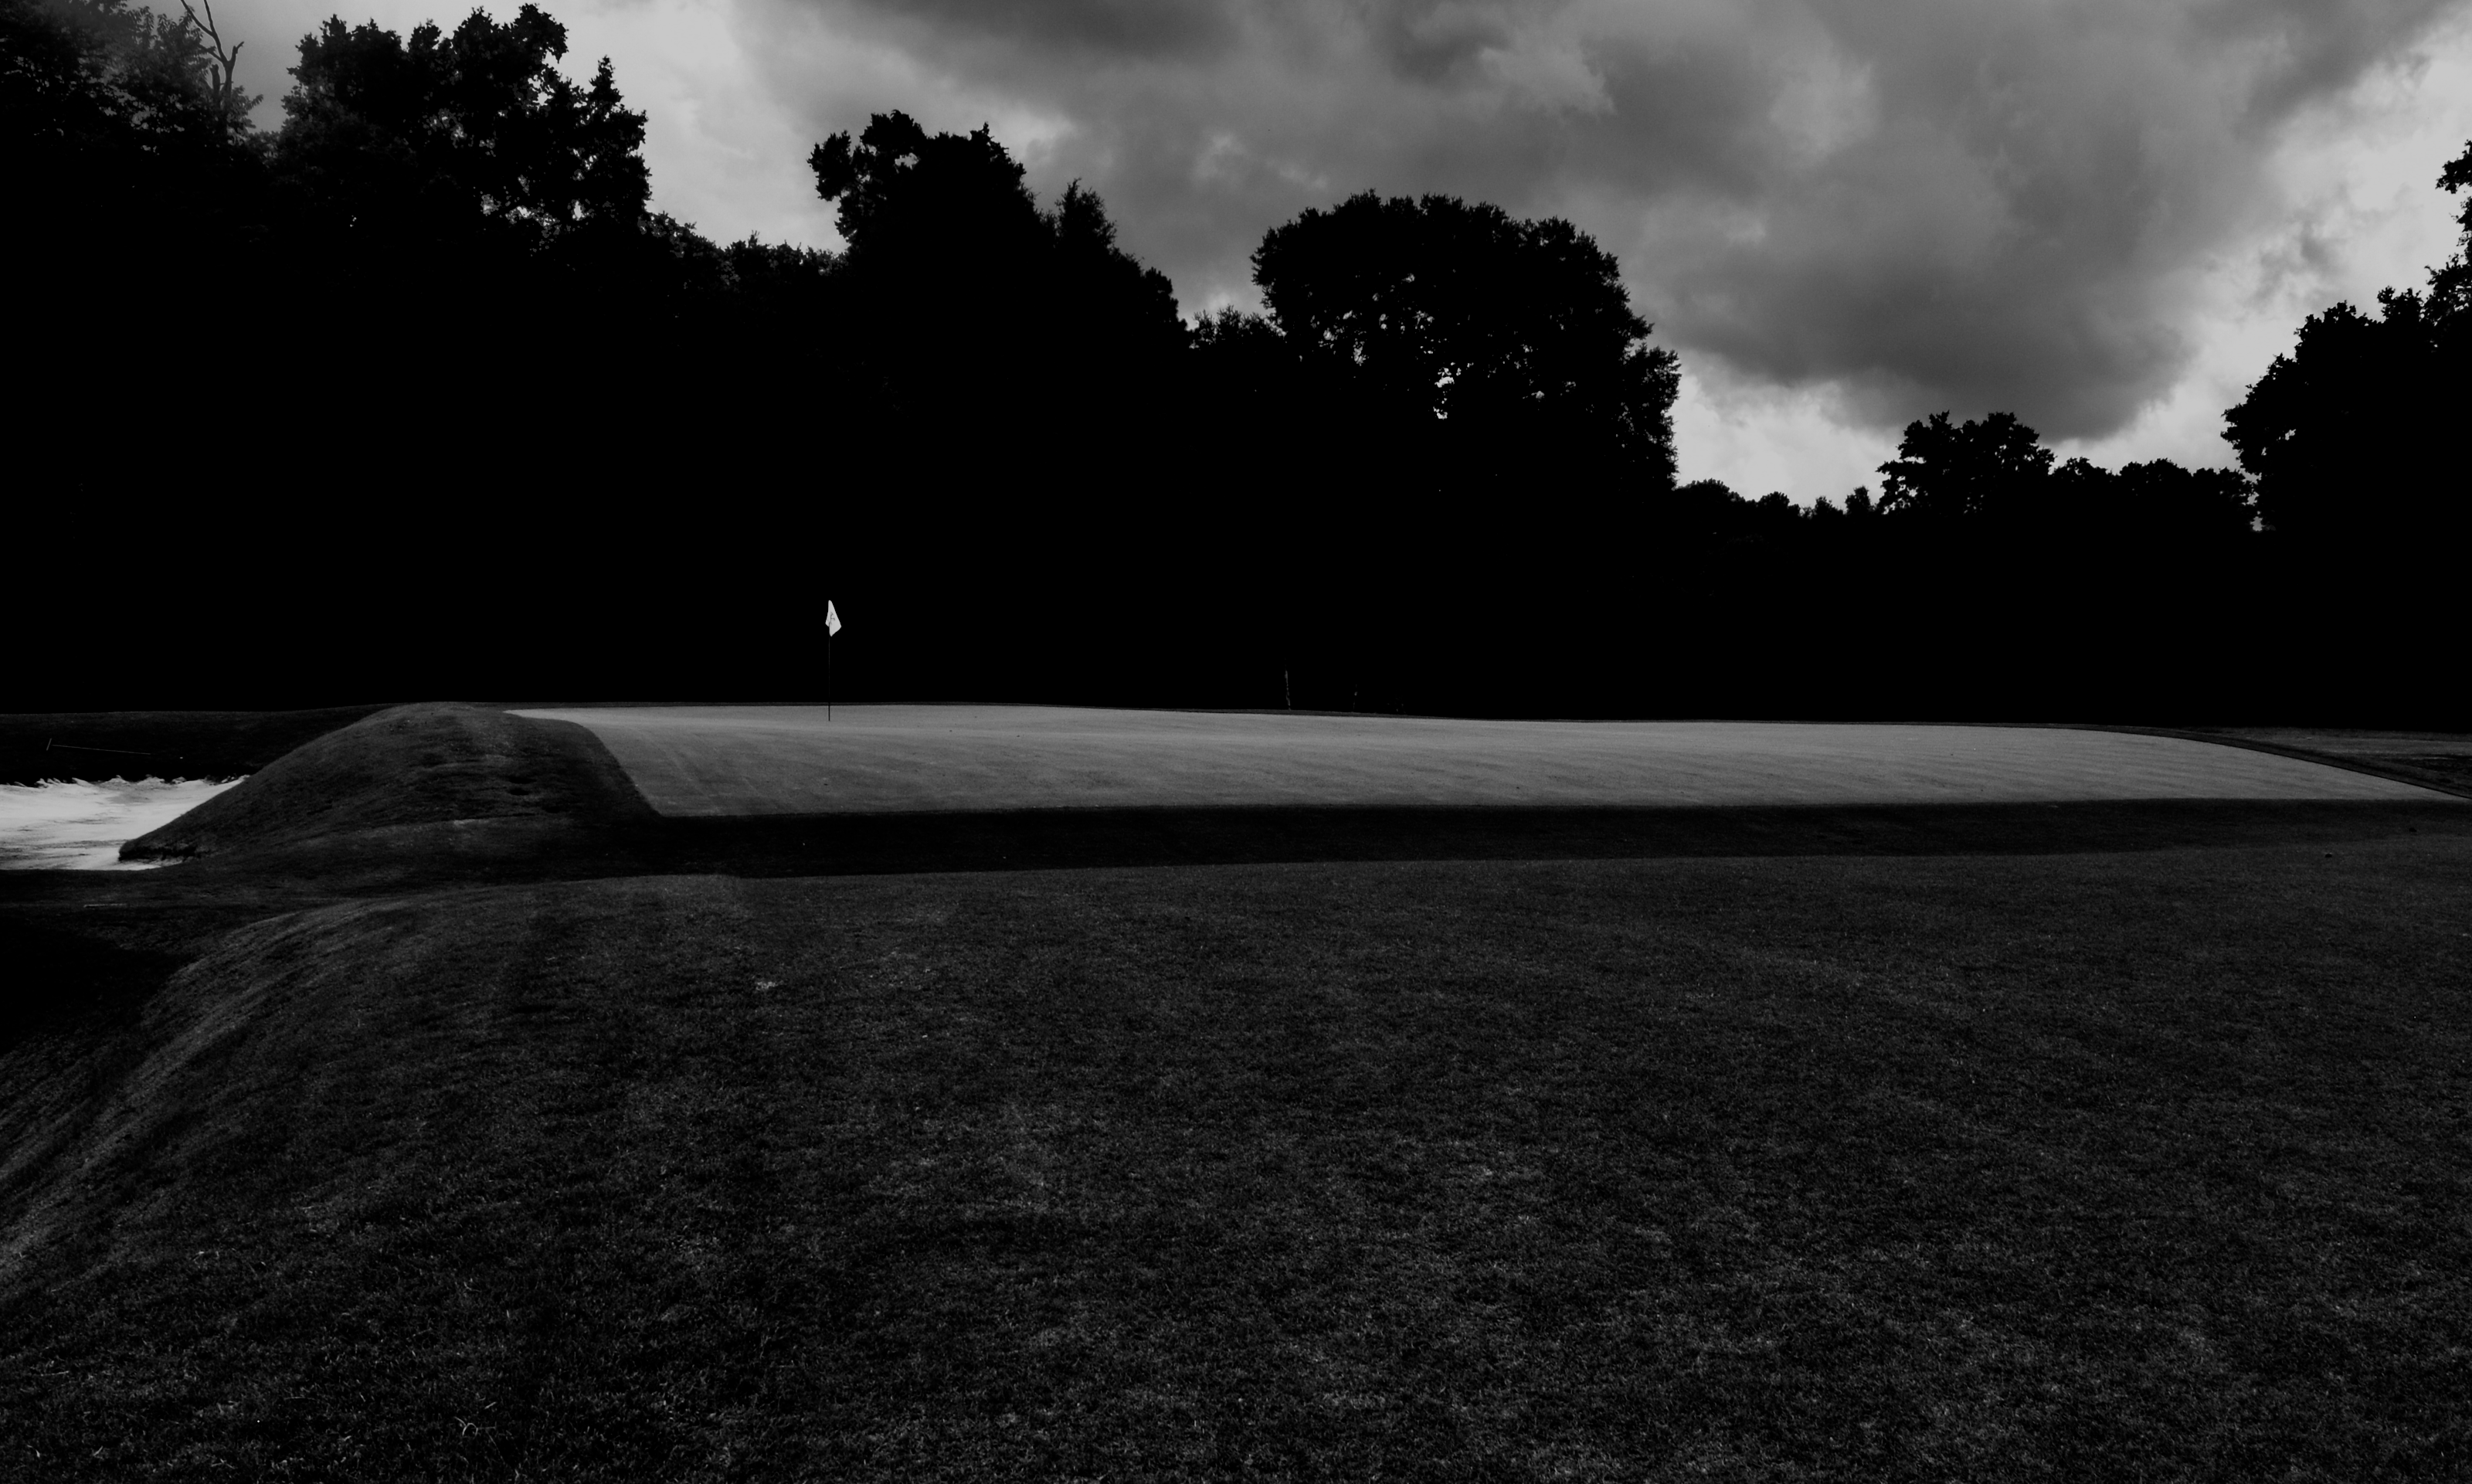
No. 1: Plateau
 (Photo Cred: BPBM)
One of those rare instances where the biggest and baddest greets players on the first hole. There are tougher holes to be had on the course, but no tougher green. The Double Plateau template unfolds from the slightly turvy land ahead of the putting surface. Although the property at Yeamans Hall is celebrated for having more movement than the average low-country plot, it’s still tame compared to the majority of Raynor’s palettes. The first green sends a message for how the architect would defend this land moving forward. After some fairway yips, a two-putt from this absurd mis-approach was the reassurance my ego needed to move forward.
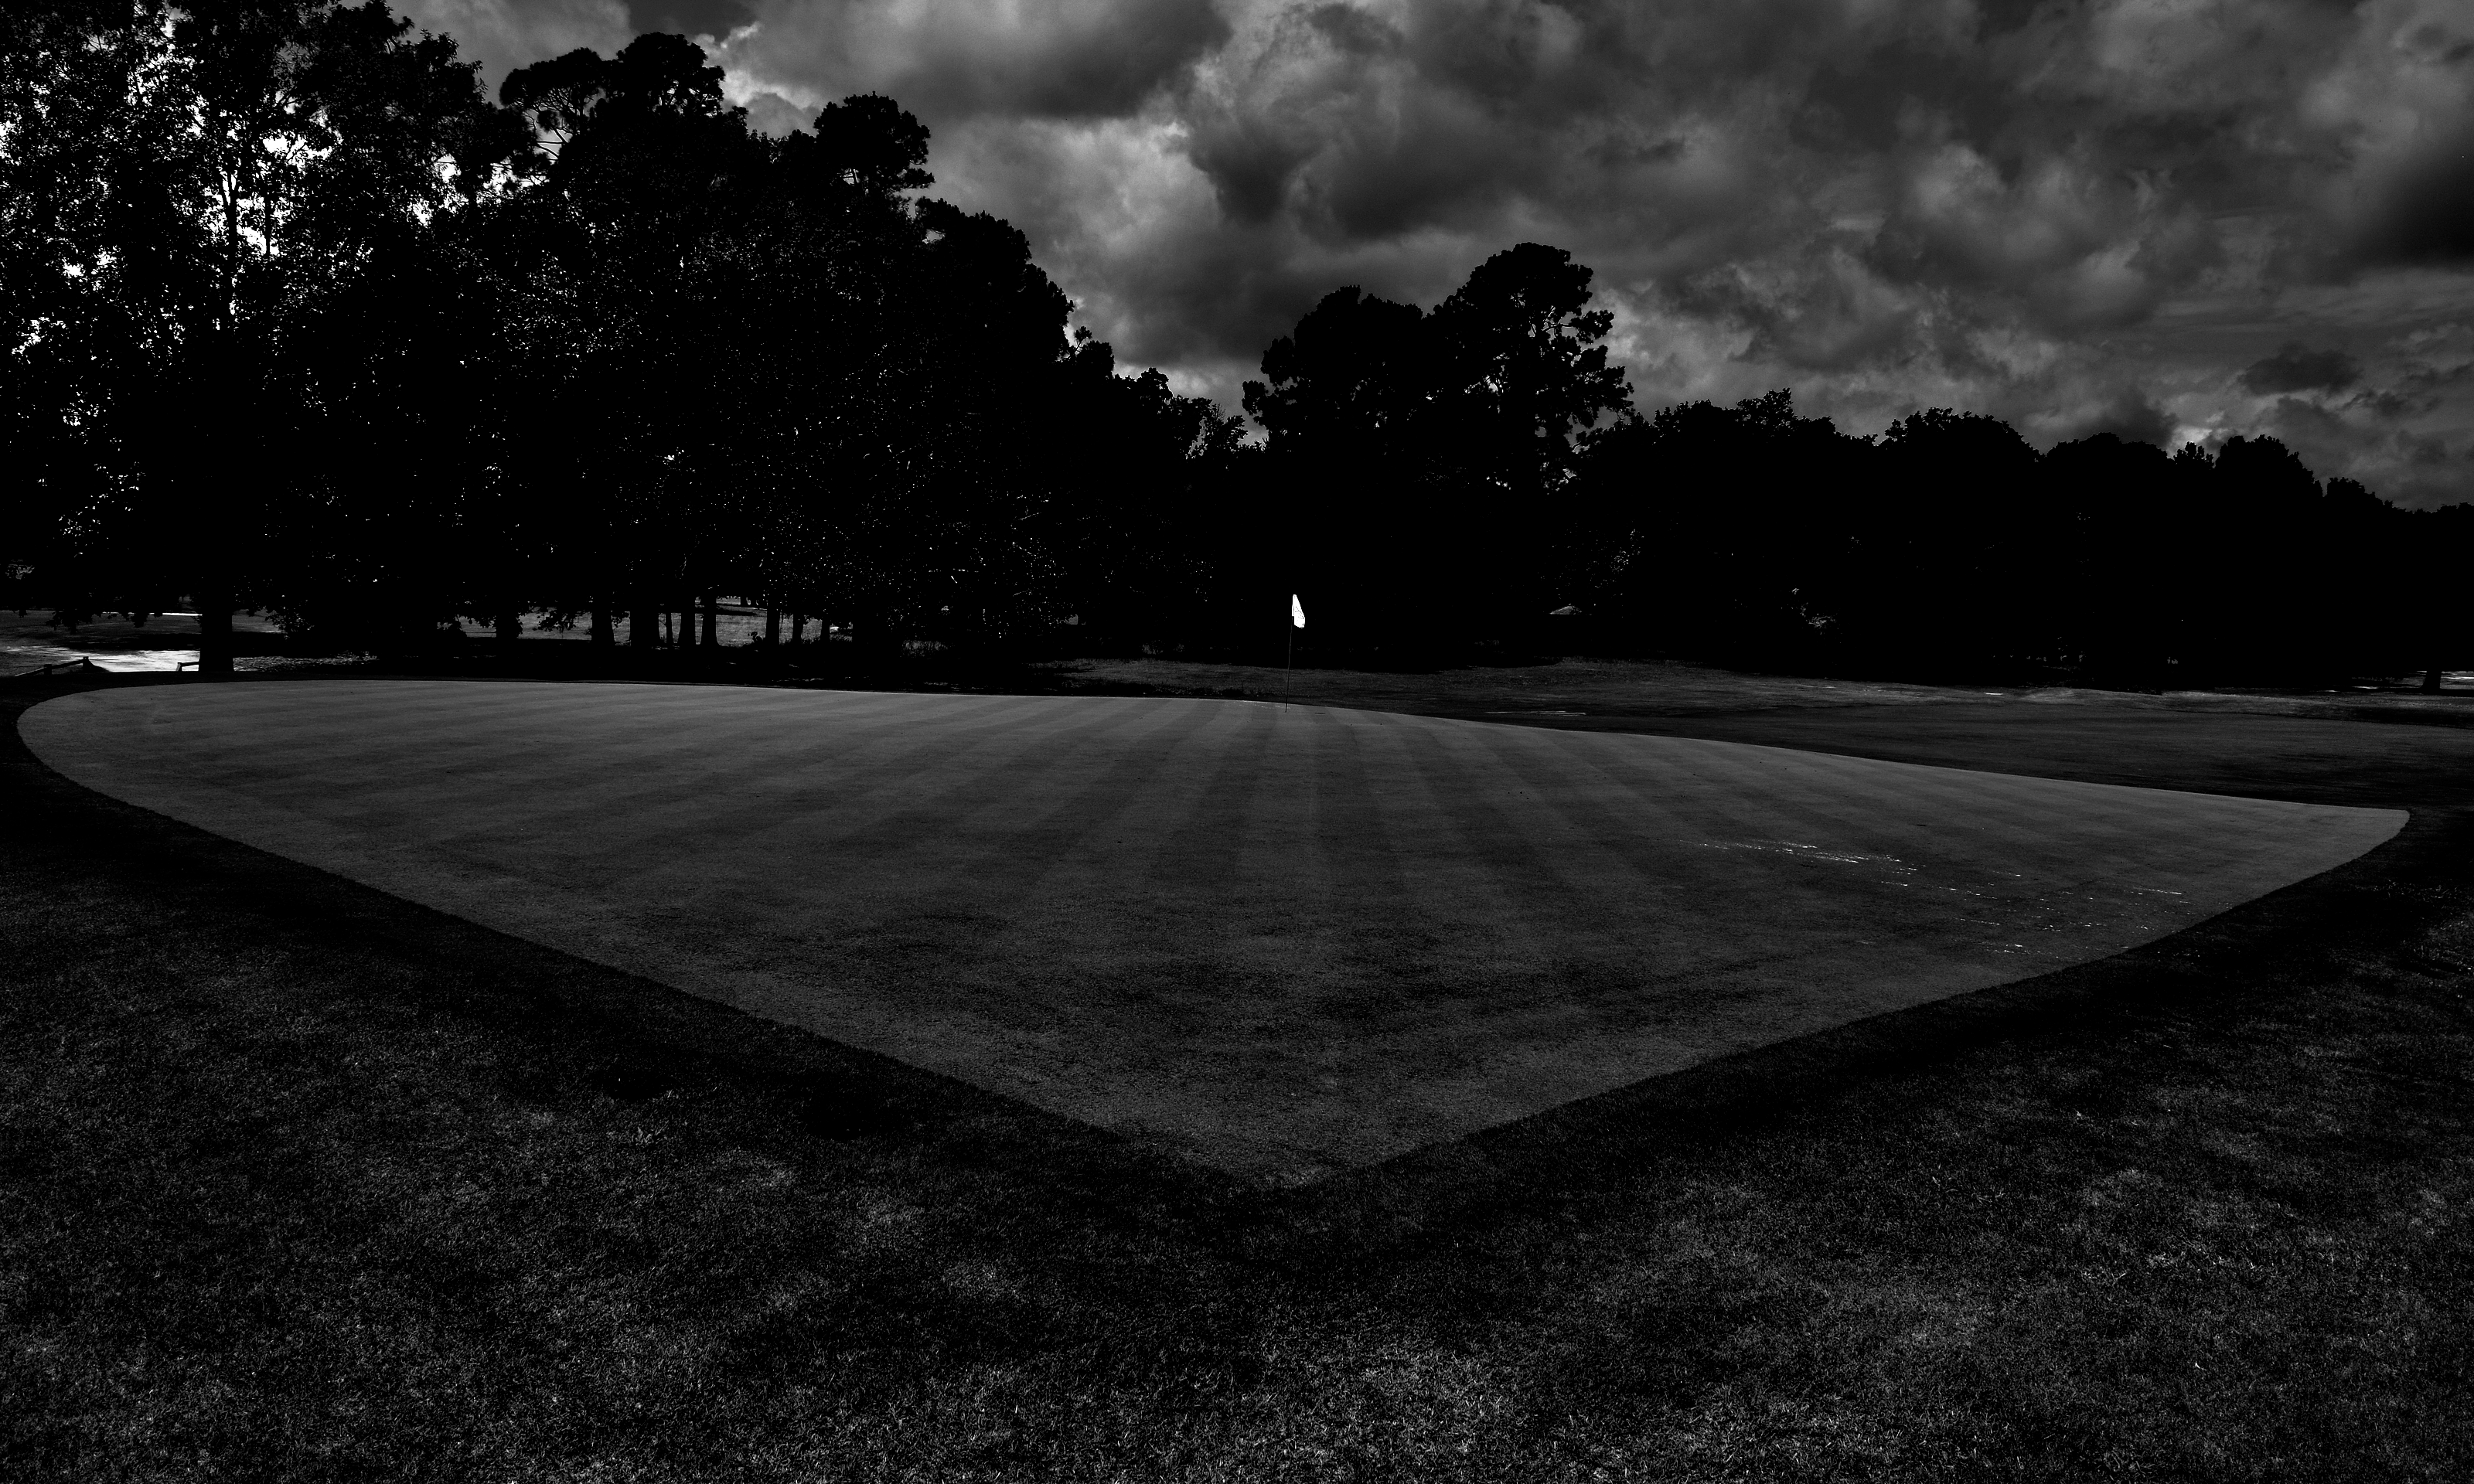
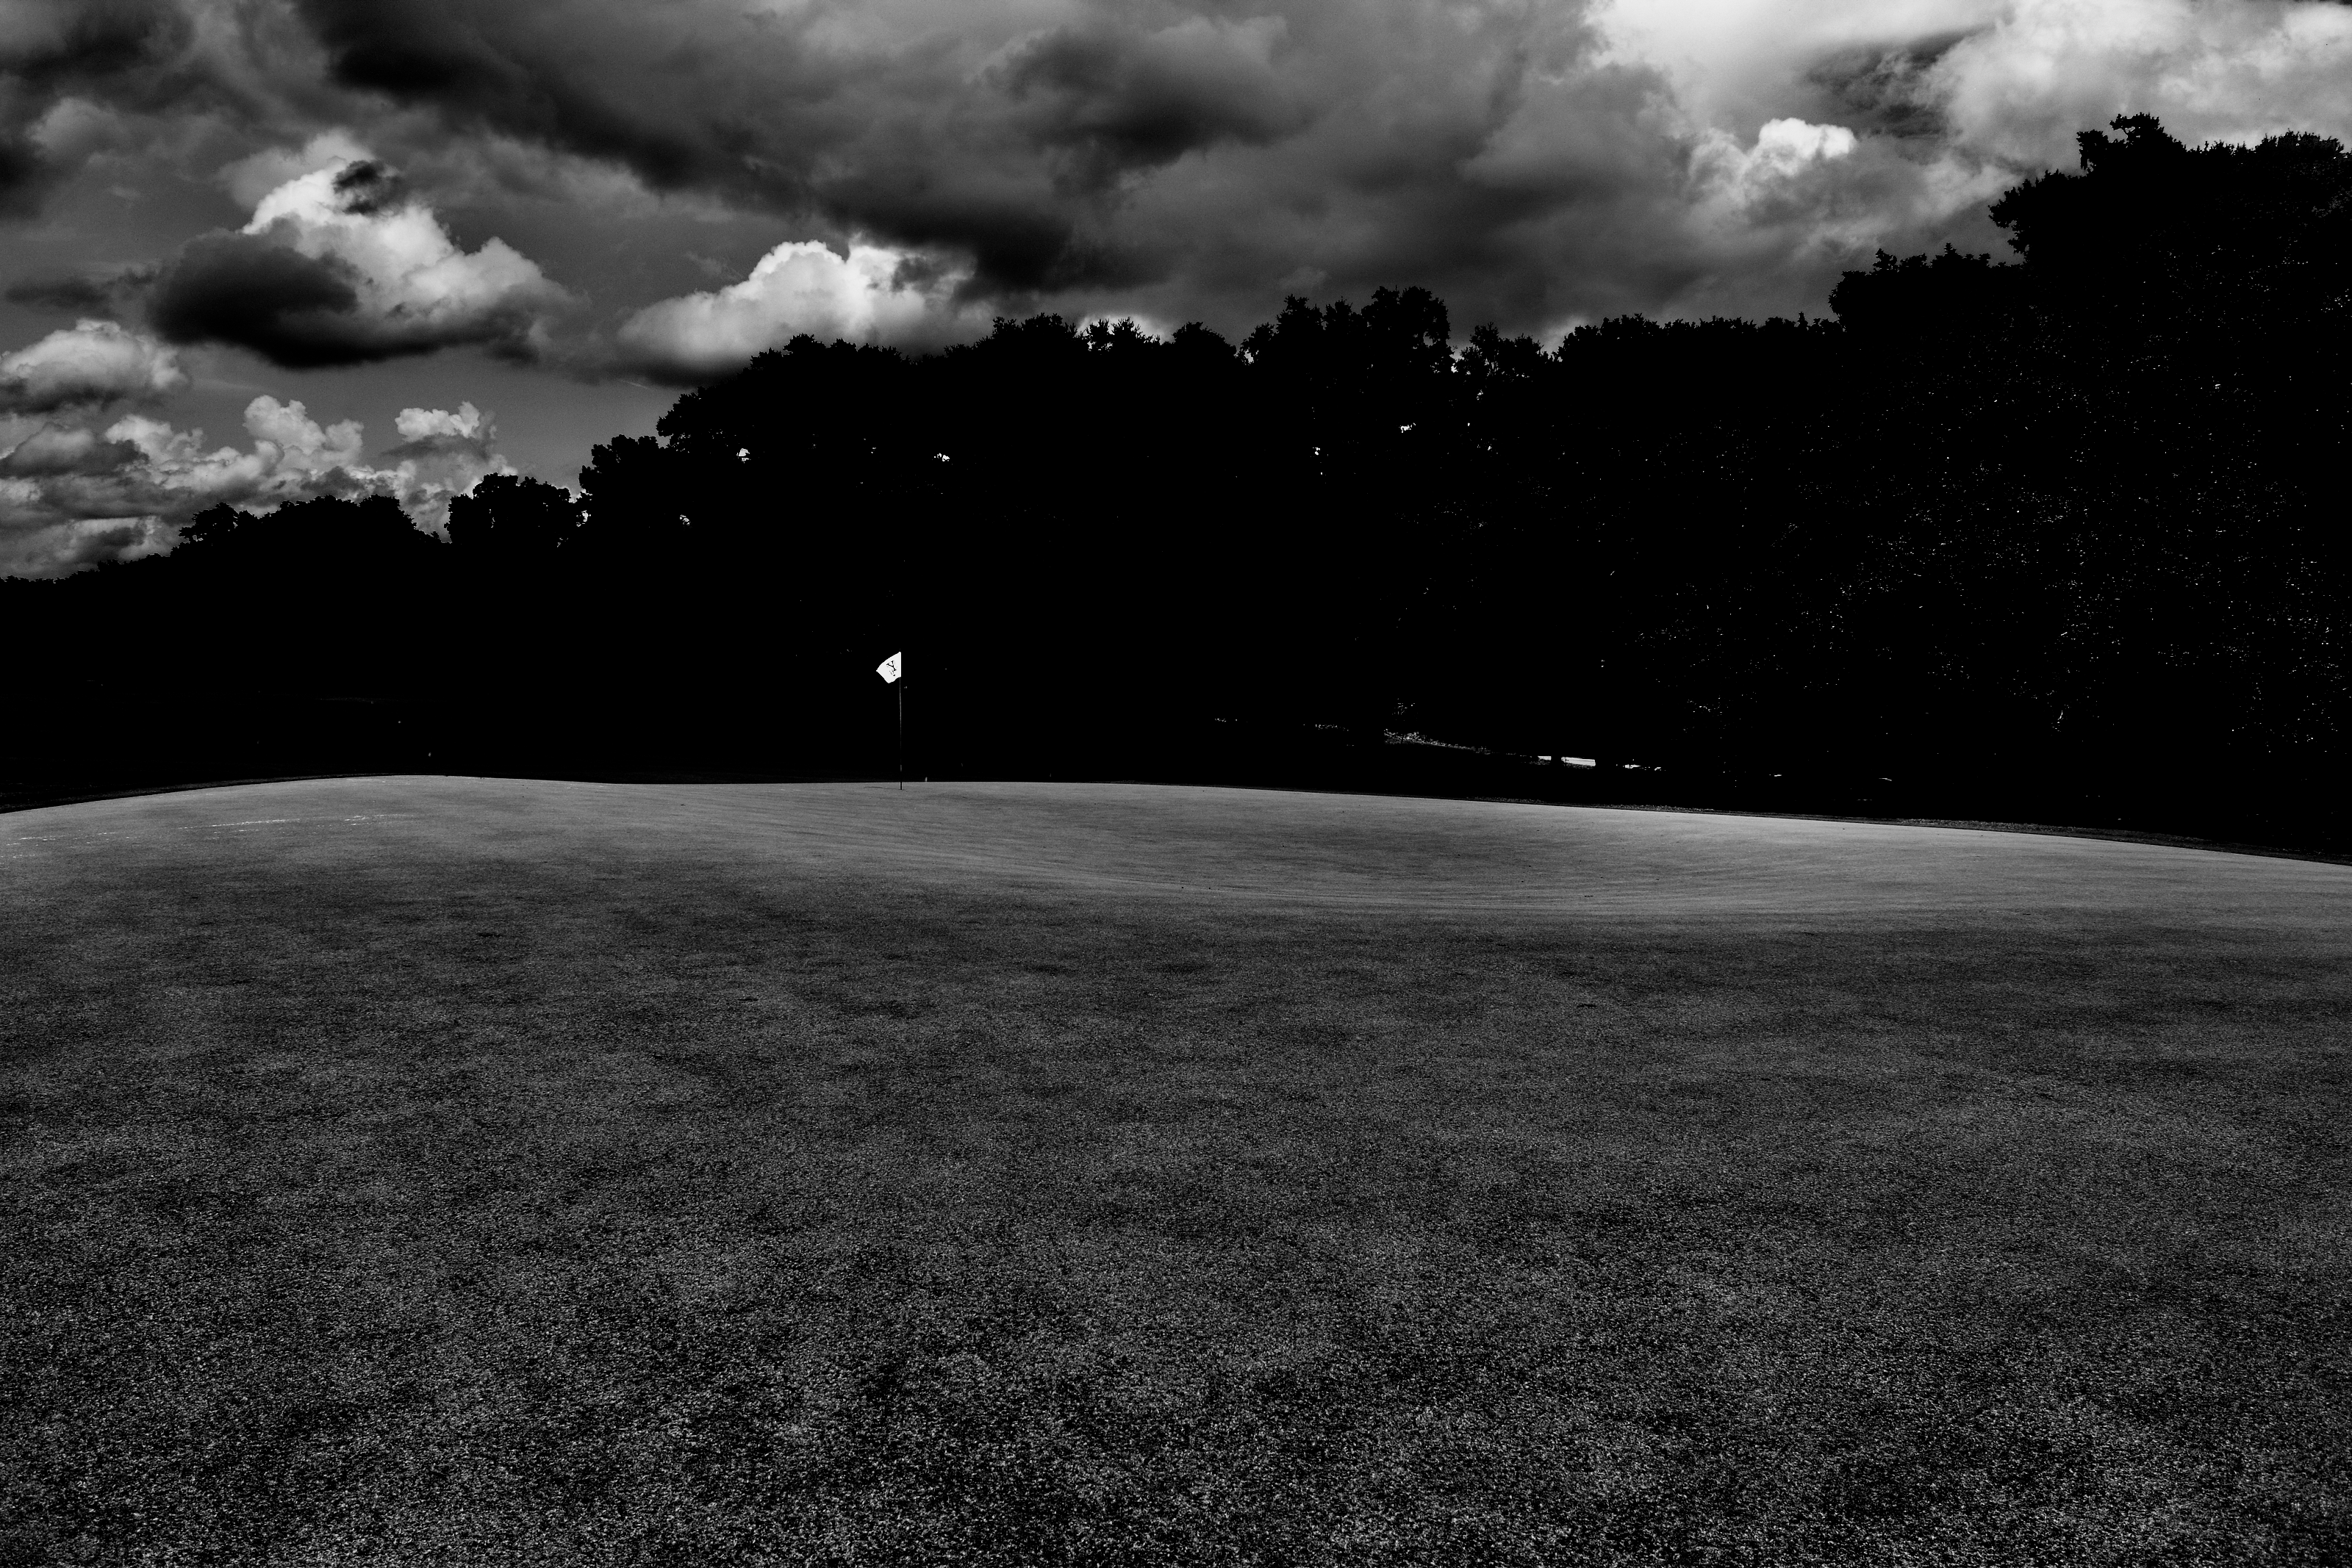
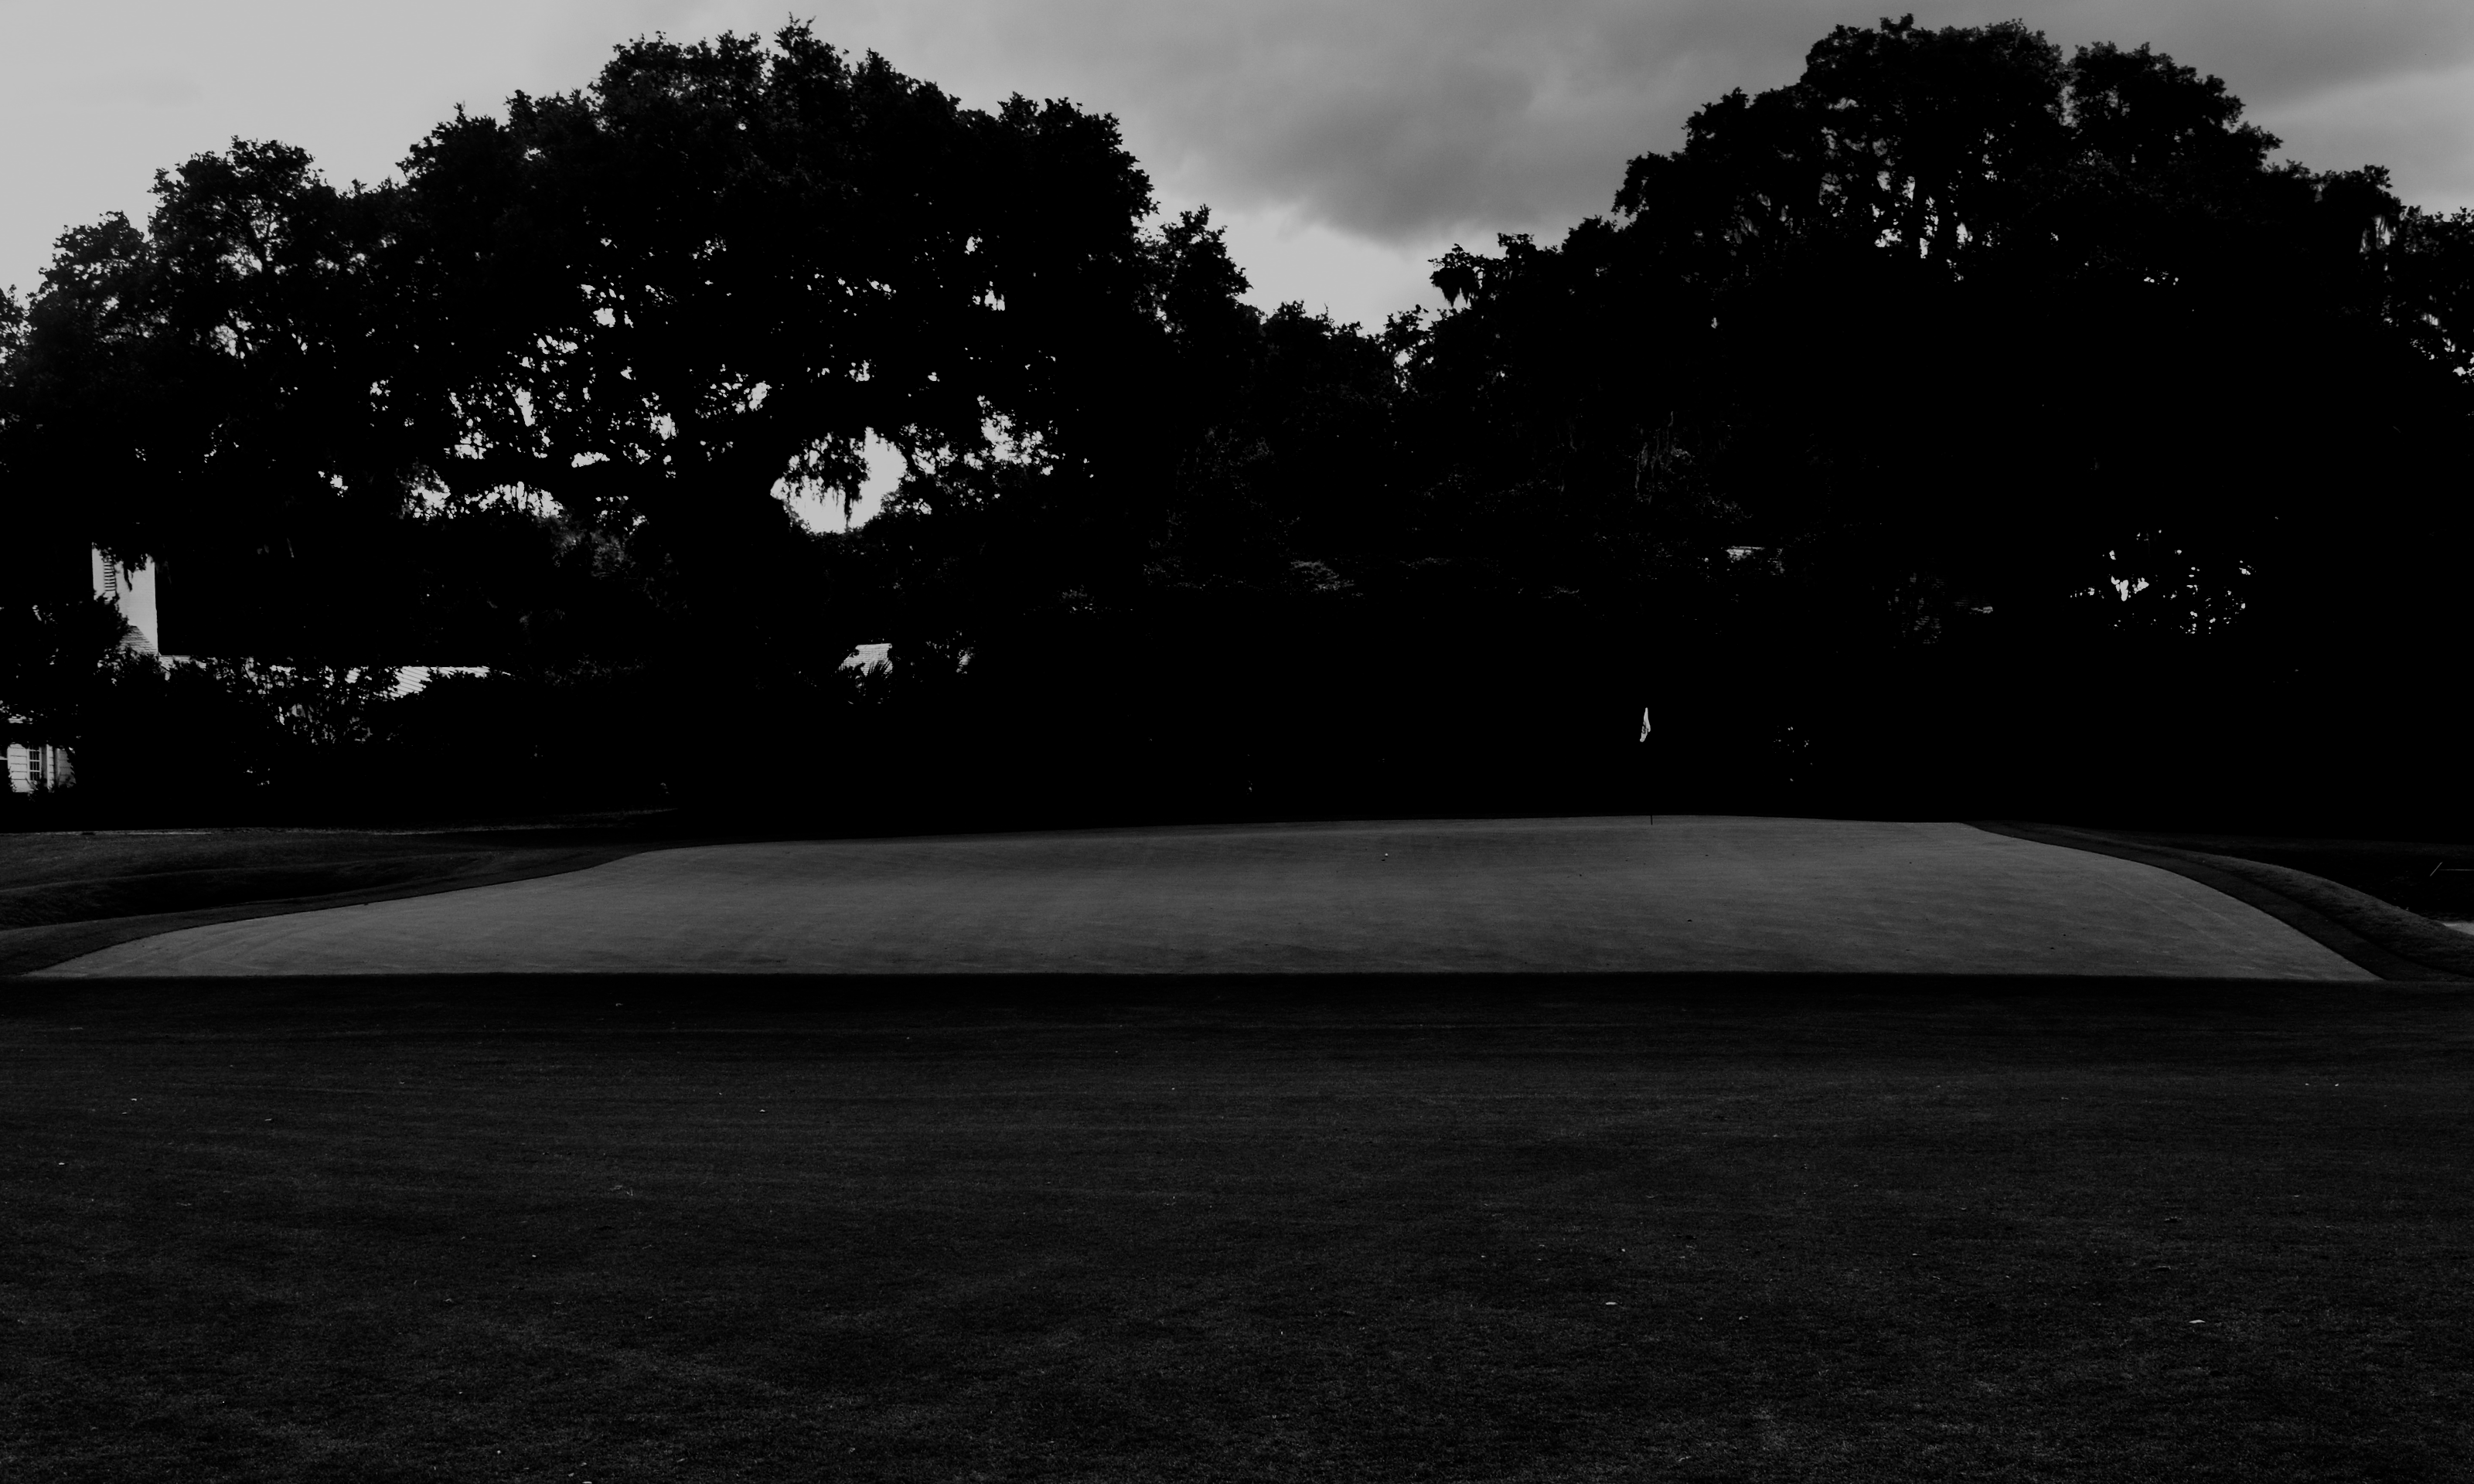
No. 2: Leven
 (Photo Cred: BPBM)
Perhaps the Leven deserves more careful study from someone who is not actually playing a round at Yeamans Hall. Perhaps its perceived lack of grandeur stems from having just played the club’s famous Plateau green. Even if this were to be one of the lesser putting surfaces at Hanahan, it stands as a symbol for just how great a collection of such areas this course hosts. You’ll see the first of many birdie putts I missed in the background.
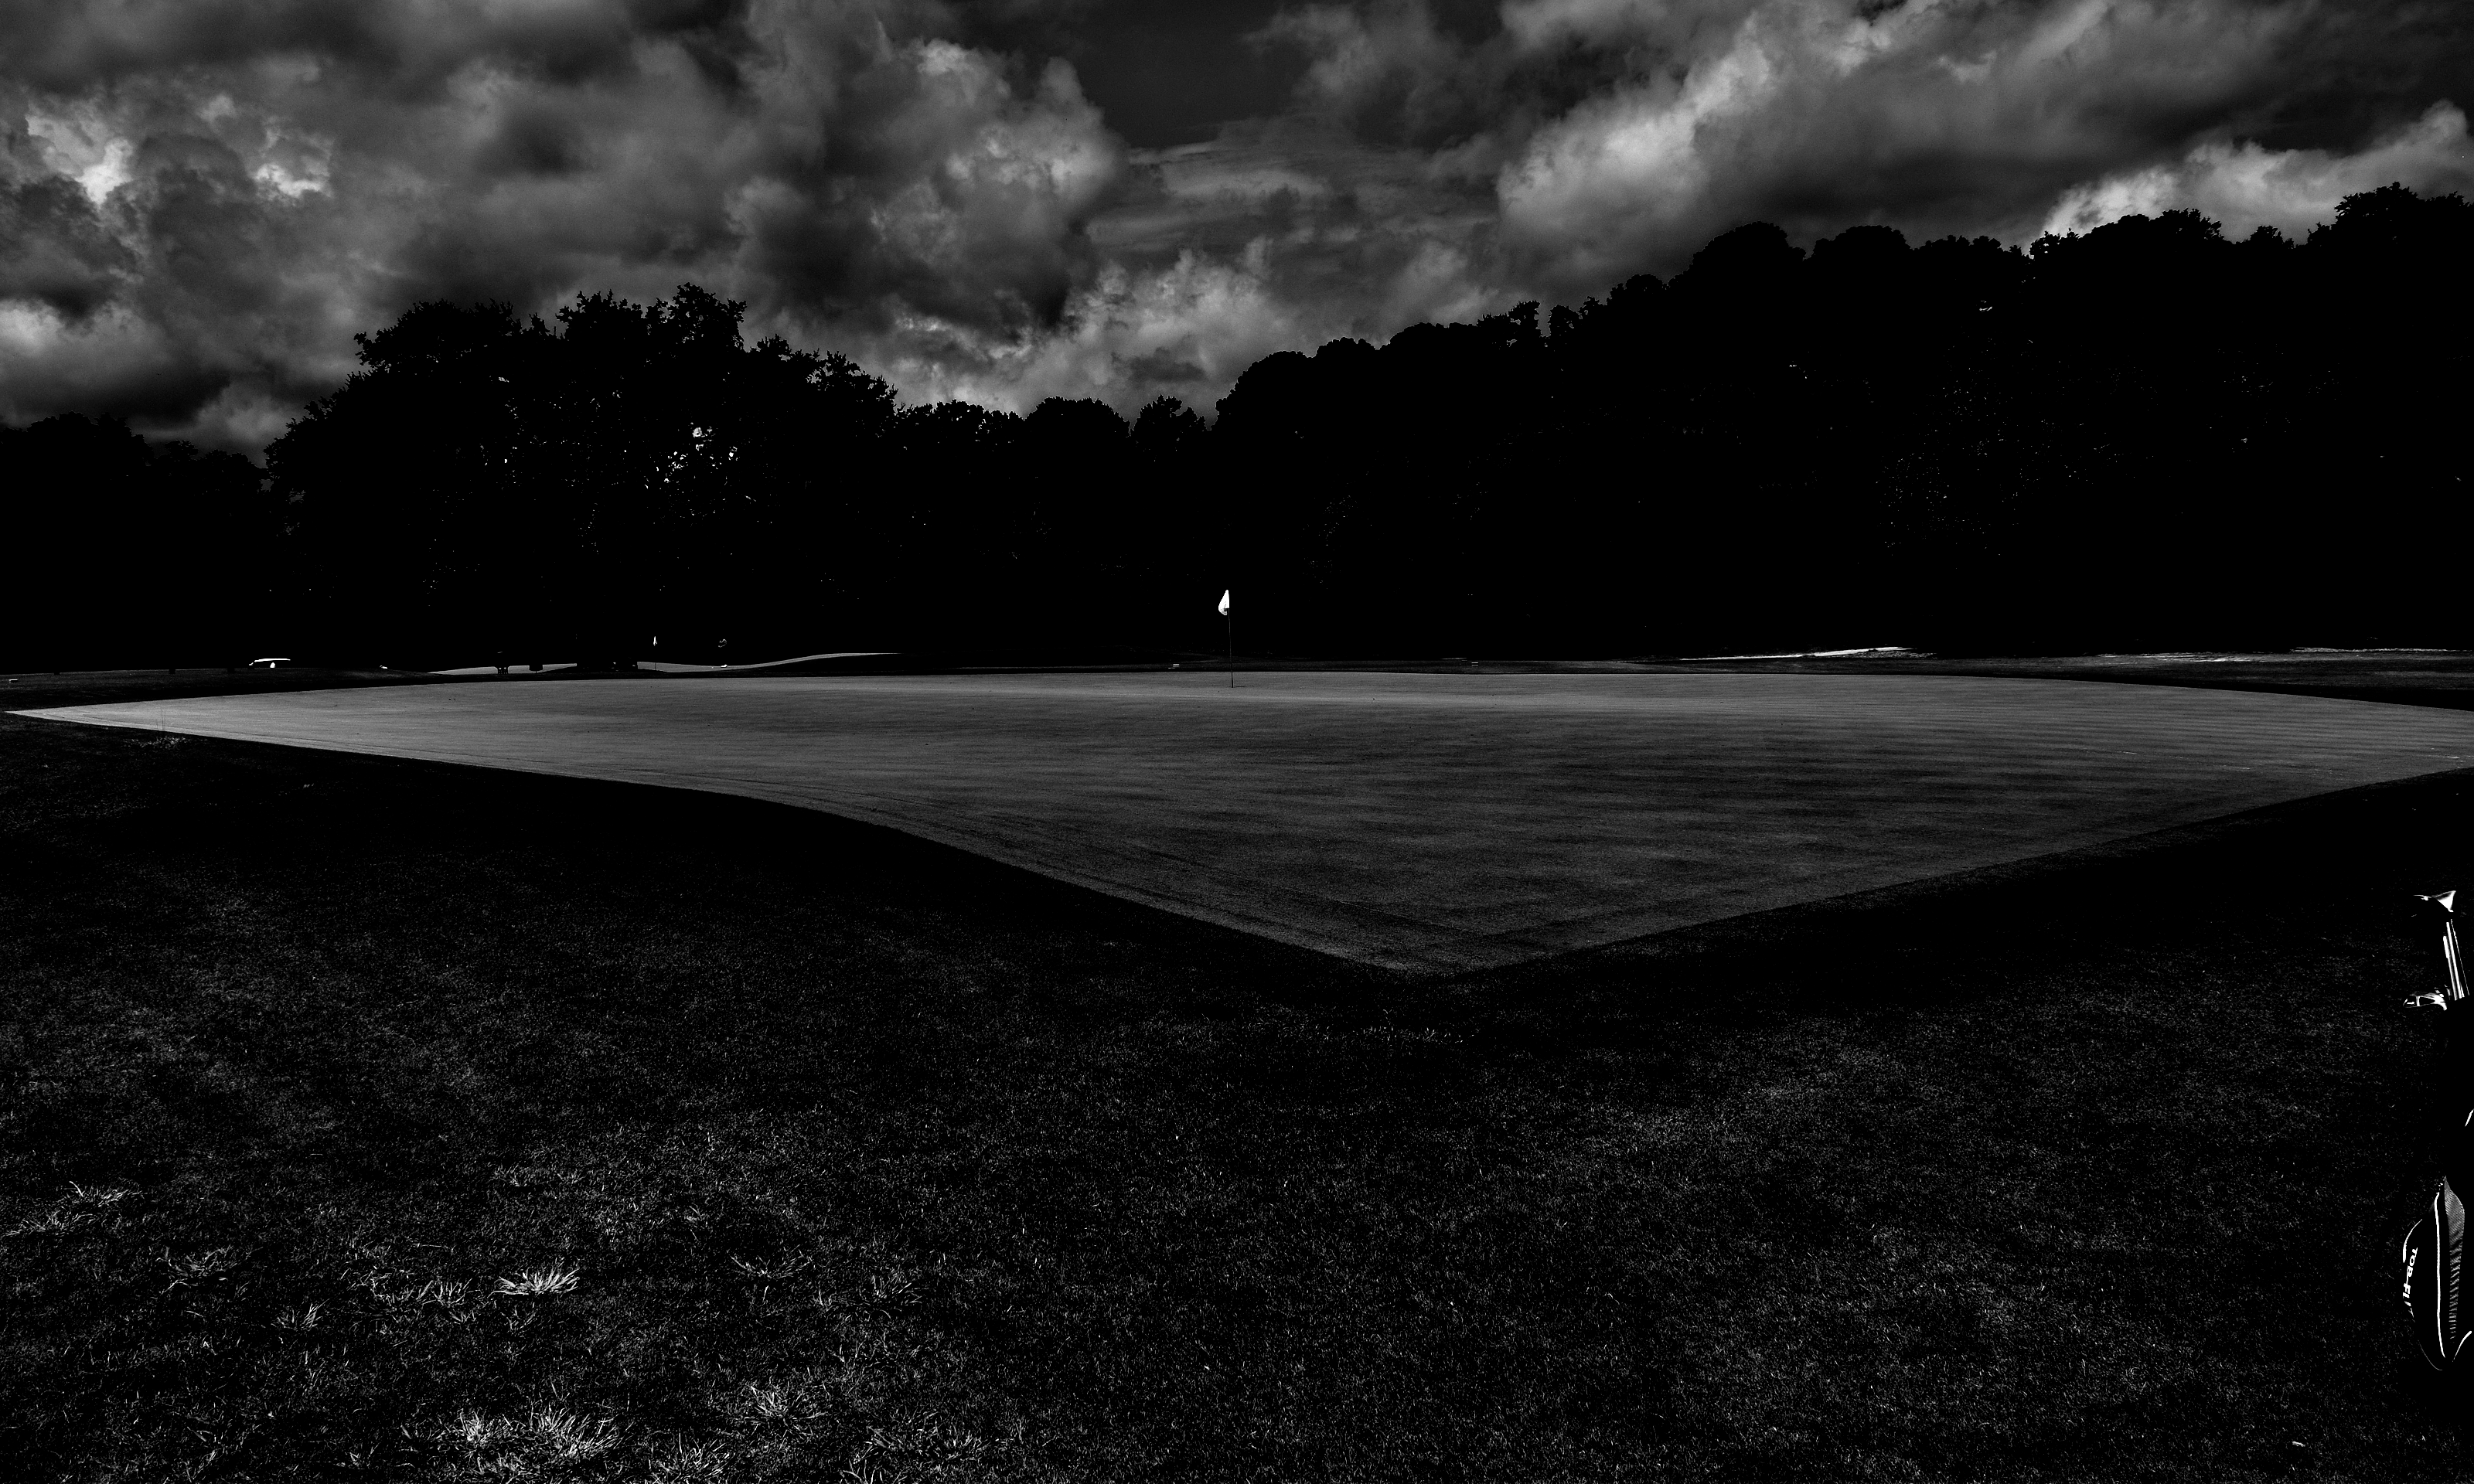
No. 3: Short
 (Photo Cred: BPBM)
The constant commentary is the distraction posed by the marshland background at No. 3, but this is an exaggeration. The true eye-catcher is not the teeth of the gators behind but the maw of the thumbprint at the fore, and the realization that it makes birdie putts unrealistic for all but the most on-point approach. A drone might have better captured this green, but the trusty-rusty DSLR still captures that this is a green divided.
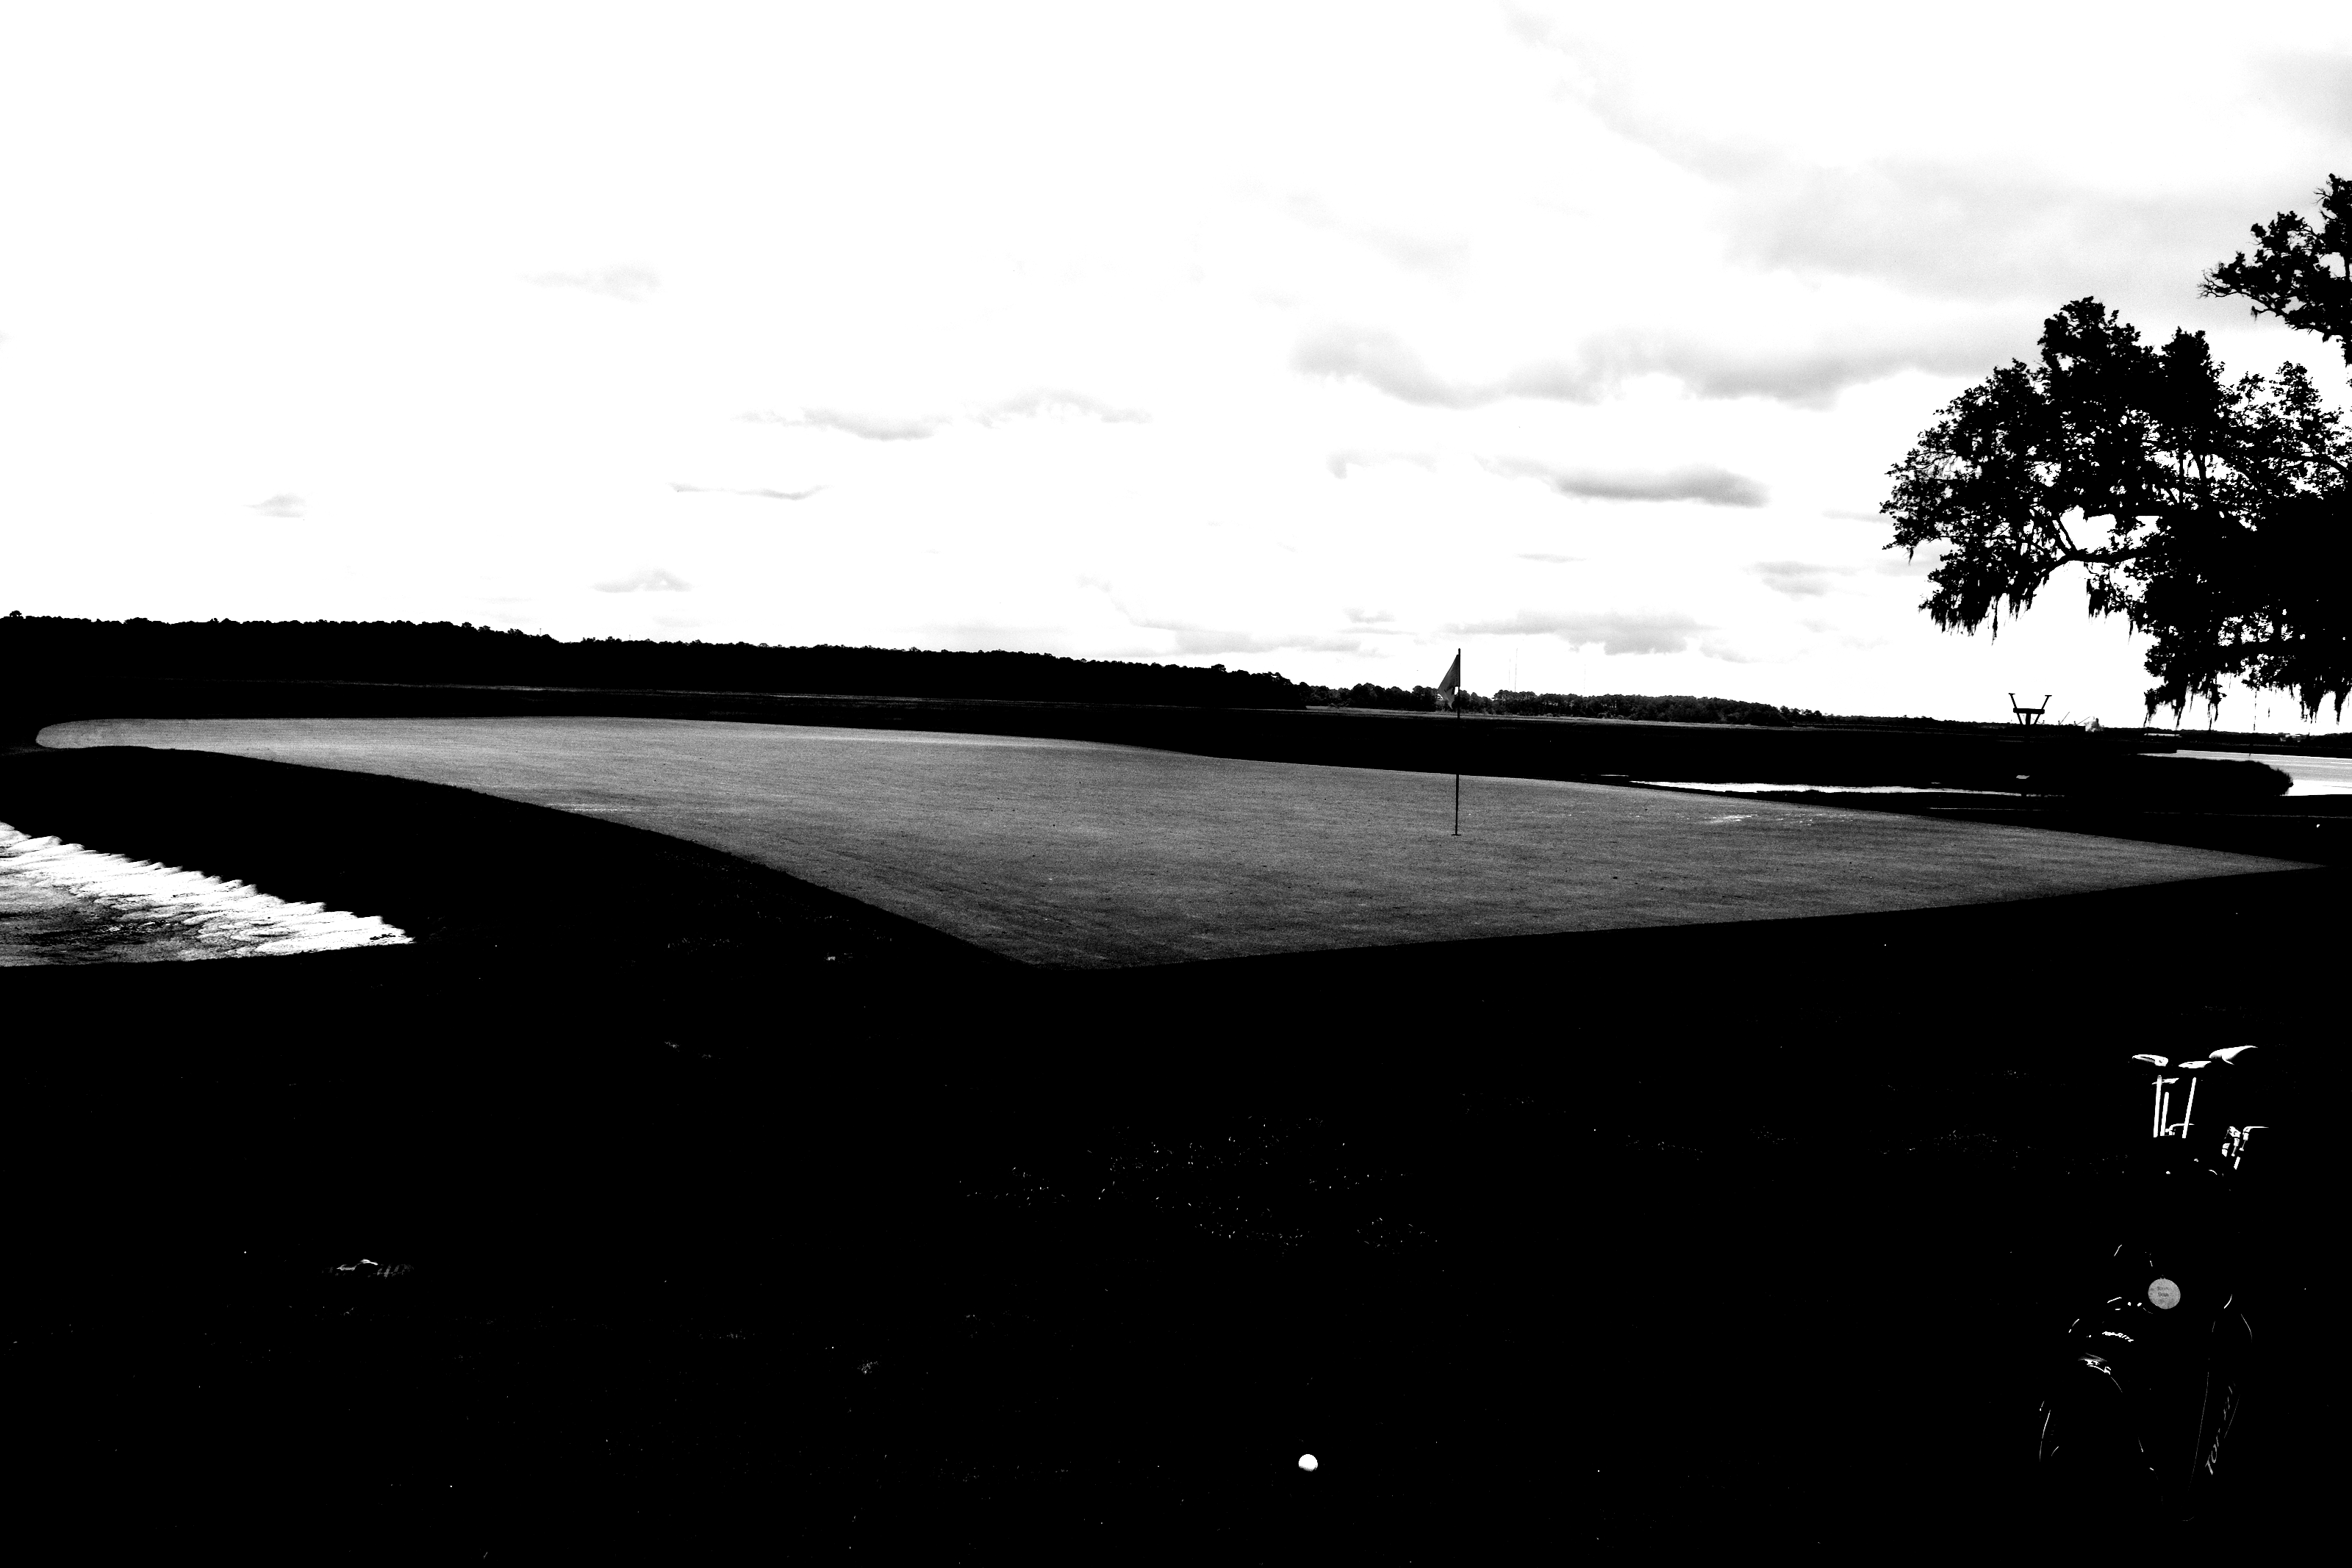
No. 4: Bottle
 (Photo Cred: BPBM)
An interesting theme for a future blog post, and one I aim to investigate further…we’re all familiar with Raynor’s geometric tendencies in design. This trend reaches its literal point in the tight 90-degree “corners” of many greens at Yeamans. Almost every green has one of these points, sometimes at the front or, as is the case on the Bottle hole, at the back. It’s almost like the rock holding the picnic blanket of putting surface down, while the wind blows the rest into its pronounced curves.
No. 5: Alps
 (Photo Cred: BPBM)
This is perhaps the most abstract “Alps” in Raynor’s discography, featuring a heavy dose of bunkering and cops built in a flat fairway, with no real slope hiding the green (a long trench bunker to be carried, however). Stay attentive at the green, as it’s the first of several putting surfaces at Yeamans sharing a similar approach, featuring a spine dividing the green neatly left-from-right. That meridian can be seen quite clearly in this photo (you can also see a more roller-coaster view of the Plateau green in the background).
No. 6: Redan
 (Photo Cred: BPBM)
The movement of a Redan green is fairly common knowledge among those with interest in golf course architecture, but the scope of these greens is often unknown until you’ve seen one in person. The model at Yeamans, and many MacRaynor clubs, runs deep (laterally, of course).
No. 7: Road
 (Photo Cred: BPBM)
The Road Hole at Yeamans Hall was one of several that made it difficult to capture the full scope because of its pushed-up nature, with falloff surrounding the outside of the green, aside from the entry point. This means you’re also missing out on today’s pin position, atop a small plateaued area at the back of the green, which is undoubtedly the Superintendent’s Revenge placement.
No. 8: Creek
 (Photo Cred: BPBM)
Had I planned on doing this feature while I was actually at the club, I would have taken a few more photos at this, one of the course’s best holes. The green is deep, and immediately backed by the estuary, while a series of small, natural rolls deflect the foolish newcomer (me) who thinks they can run one up here from the center of the fairway. The length of this green allows you to run one to the back, middle, or place enough spin to stop…assuming you land it on the green first. The ground game guarantees nothing.
No. 9: Long
 (Photo Cred: BPBM)
Although another push-up green that didn’t allow unprofessional photographer me to capture much of the putting surface, you can still gather the plot of the green from this photo, the inside cover summary if you will, even if you can’t see the full text. The false front is prominent, and so is the spine that once again creates two landing areas. Whether you have one putt or four could be the question of which you end up on (only two for me, thankfully).
No. 10: Cape
 (Photo Cred: BPBM)
An elevated green once again prevented me from getting the full shot, however I felt it worthwhile to capture the club’s second-most popular thumbprint. Although I felt it easier to pinpoint the proper level on this short par four (361 yards) than on its Short cousin, the punishment remains stiff for those who don’t.
No. 11: Maiden
 (Photo Cred: BPBM)
No. 11 is sneakily the toughest hole at Yeamans Hall (the opinion of someone who’s played the course once), and no small part of that designation comes courtesy of its Maiden green. More credit to Plateau that this is only the second-best putting surface at Hanahan. Special thanks to the superintendent for placing the flag in its deific position at the back-right plateau today (although the back-left would be equally grinding), with waves of undulation ahead, and the Mariana Trench behind. I tried to do this exemple exceptionnel justice by taking a series of photos from the back, to be stitched together later. Turns out this is not so simple. But just like trying to par this pin position, I’ll keep trying.
No. 12: Narrows
Narrows, alas, receives recognition for being the only green that I did not capture some semblance of a photo for. I considered attempting to do a similar stitch of two or three taken from atop one of its famous “Dragon’s Teeth” mounds, however at that point I also noticed another single, in a cart no less (it was 97 degrees), at the previous hole. I decided to make my round more efficient. Apologies to this green.
No. 13: Eden
 Thank goodness competent photographers have been to Yeamans as well. (Photo Cred: PJ Koenig)
I hustled through the Eden, not wanting to be that guy who gets an invite to a classy club and then holds up traffic because he’s taking sub-par photos of everything. Had I realized I would be writing this post, I may have skipped another hole, however, as the Eden template is — in your correspondent’s opinion — the greatest of MacRaynor’s many celebrated par three concepts. Fortunately PJ Koenig didn’t mind sharing an aerial that showcases exactly what we’re looking for, which is evident putting surface movement. The two plateaus here simulate the founding hole’s uphill movement and, while there’s no “Strath,” the false front is still trouble for short pins.
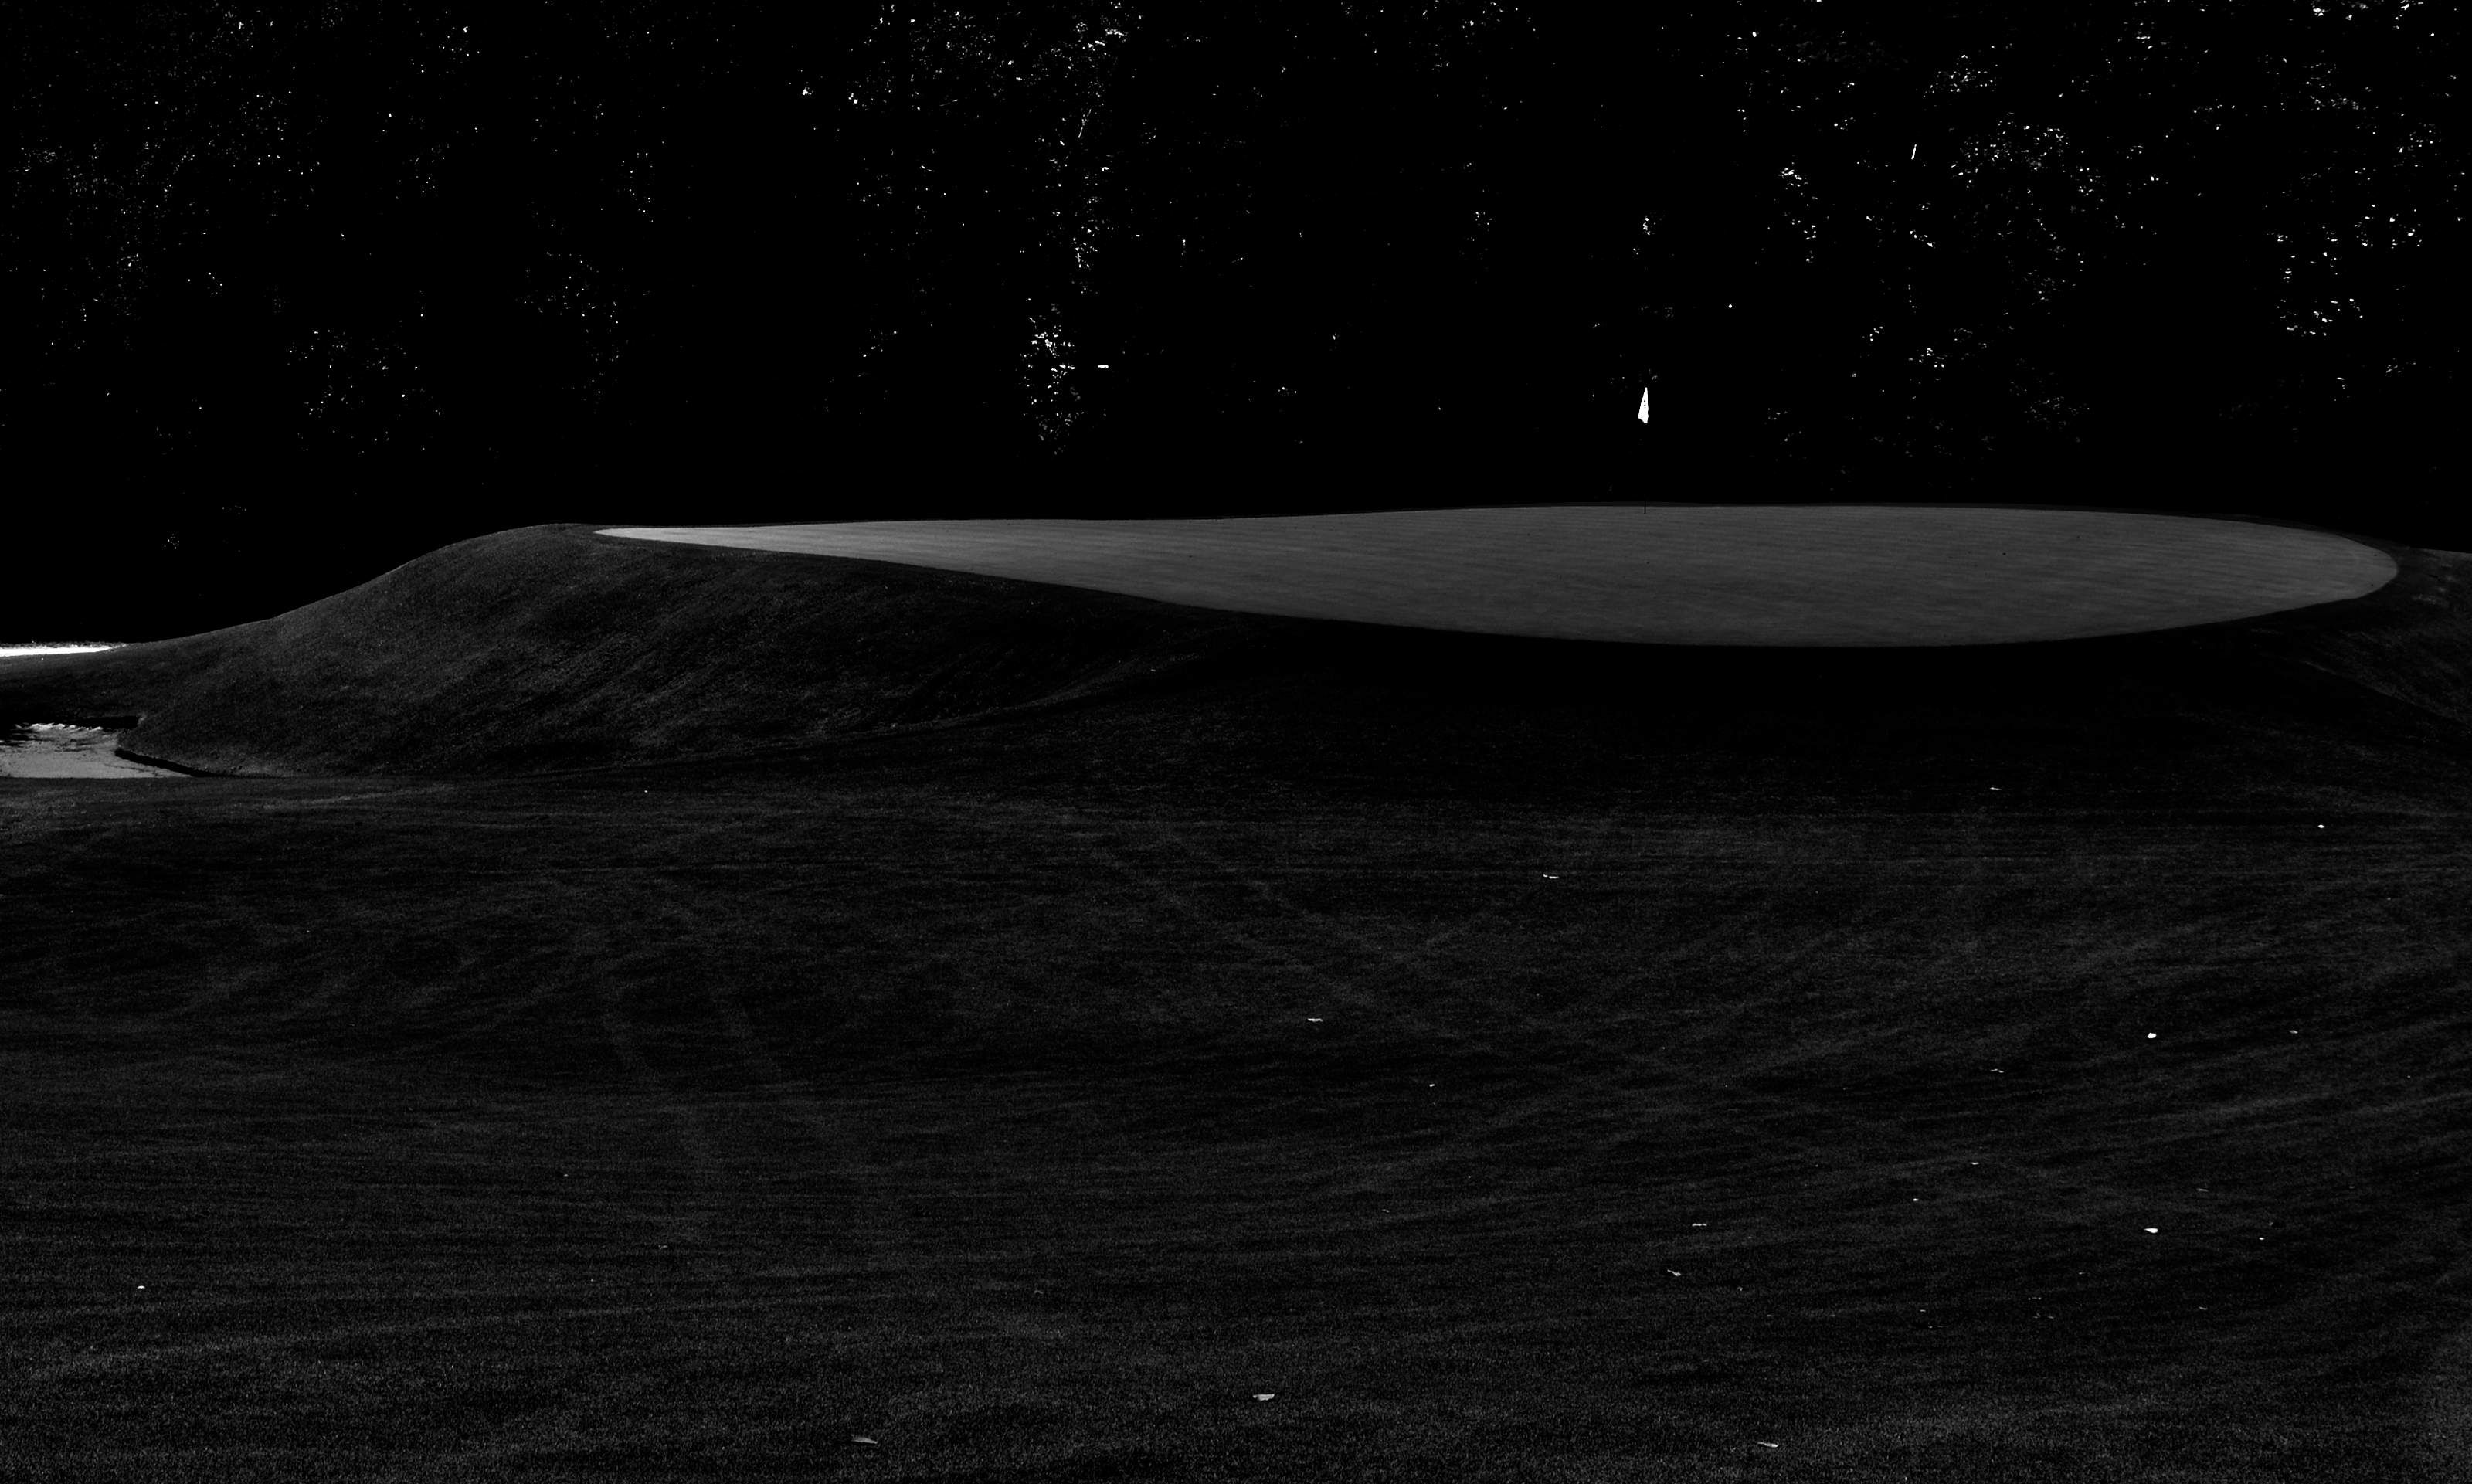
No. 14: Knoll
 (Photo Cred: BPBM)
If there’s one green at Yeamans that deserves more credit, it’s that at Knoll, my favorite hole at the club. As someone who openly declares that the terrain, and how the architect works with it, is the most important factor to me personally when considering a design’s strength (some place green design at the top of their personal metrics, and that’s quite alright…it’s how Yeamans ends up on some World Top 100 lists), I almost overlooked this green entirely while admiring the role of the valley ahead of the putting surface and how it dictates the second shot. I indeed read a review of the course post-round that forced me to return to this photo and reconsider the strength of this putting surface, seen here at a distance.
No. 15: Lido
 (Photo Cred: BPBM)
The Lido at Yeamans Hall, a variant of a template more regularly known as some variant of “Raynor’s Prize Dogleg,” continues the course’s most difficult trifecta, from Nos 14 through 16, where I imagine many matches are either ended early or at least defined entering the final two holes. The green is great — once again defined vertically — but, for the sake of Jerry Rossi, who I know will be reading this, I’ll acknowledge that the Blue Mound version does come out on top here.
No. 16: Biarritz
 (Photo Cred: BPBM)
I’ve read enough about MacRaynor templates to know that many clubs maintain the front portion of the Biarritz template at fairway length (as was typically intended by its creators), and Yeamans Hall continues this trend. What I know less about is the typical contouring of the back section. At Yeamans Hall, you’ll find a by-now similar theme: A dividing spine, which creates some punchbowl-type effects. If such variety exists among the back-ends of this template, further study is required.
No. 17: Punchbowl
 (Photo Cred: BPBM)
Raynor often built his own punchbowls, and that’s no doubt the case at Yeamans Hall; if I were to guess, he used the soil that he extracted from the bunkers surrounding the green. The tone of the green mirrors the hole’s land in terms of the scope of its undulation. Where other putting surfaces are defined by either defined levels or significant central swoops, the size of this green is full of relatively micro-contours. Once again, your final placement will be the difference between one-putt and four, and I imagine this green features many more double-breaking putts than the rest.
No. 18: Home
 (Photo Cred: BPBM)
Raynor had, by this point, perhaps realized that he had used the vertical spine concept enough for one round. Or, more likely, he embraced what I interpret to be among the most natural landforms used as a green at Yeamans Hall. A series of two rolls call for the right speed upon approach from the ambitious golfer (it’s a reachable par five for golfers better than I) in order to arrive on the same level as the pin, and the right-to-left lean will readily steer those approaches. A fine end to a fine day of putting (38, in my case).